As an Amazon Associate I earn from qualifying purchases.
To perform a bike repair or to overhaul a bike by totally disassembling it down to the frame sounds like a daunting task, but it really isn’t as hard as it seems. You’ve already won the battle if you have room to work and the necessary tools.
Bike Repair Tools Needed for Disassembly
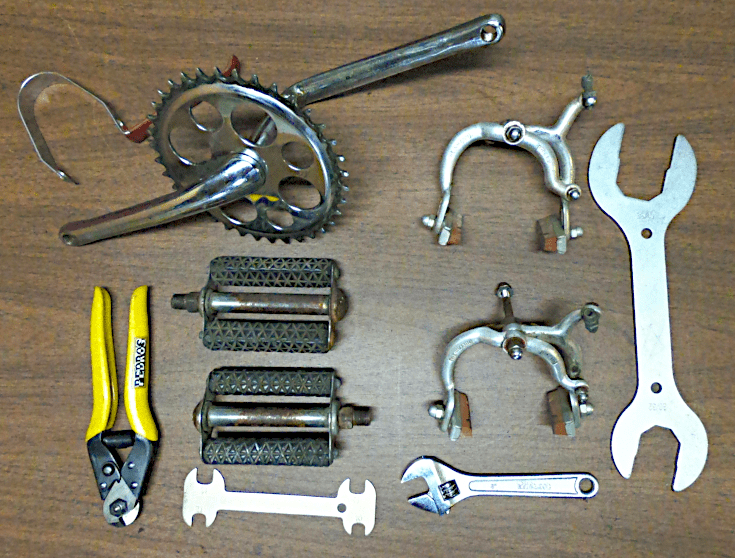
Schwinn medium weight bikes, like the Schwinn bike I bought as a project, and heavy weight Schwinn bikes don’t require many tools for maintenance and repair. Most of the tools needed you may already have lying around the house. You will need the following tools:
- Wrenches to fit the various bolts and fasteners.
- Large crescent wrench to remove the retaining nut on the crank and headset.
- Cable cutters for caliper brake and shifter cables if your bike has them. You can cut the cables with a pair of diagonal cutters when disassembling the bike. However, you will need the bicycle cable cutters for putting the bike back together anyway.
- Hammer
- Pliers
- Screwdrivers with straight and phillips blades.
- Penetrating oil and a lot of patience for frozen bolts and nuts.
Bike repairs are easier to do if you have a bicycle repair stand, but it isn’t a necessity. A level floor (preferably not carpeted) and some kind of table or other work surface for tools and parts is all you need.
If you don’t have a repair stand, leave the wheels, fenders, and front fork on the bike until you have all the other parts removed. Then remove the wheels and fenders. Remove the front forks last.
Not having a stand makes the work a little harder, but not impossible. I didn’t have a stand available while working on this bike, but I had a table large enough to put the frame on once the bike was disassembled.
Bike Repair Steps to Disassemble the Bike
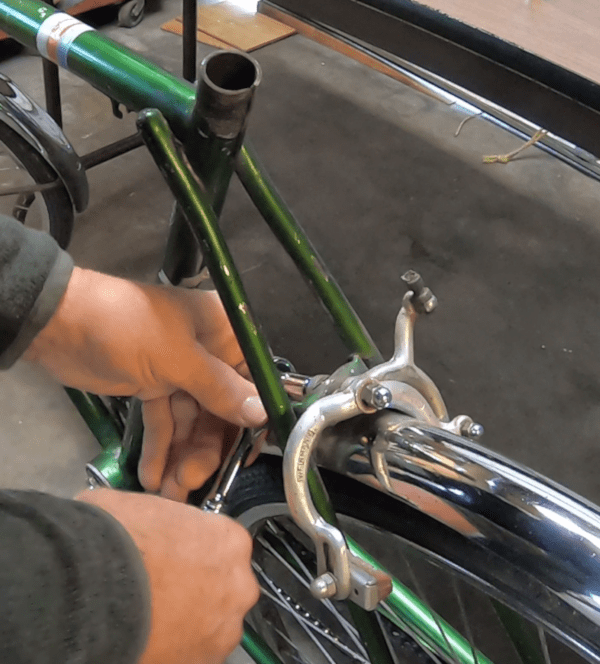
Loosen the brake cable anchor bolt and remove the cable from the brake, then remove the cable from the bike. If you aren’t re-using the cable you can cut it to remove it. Then loosen the nut holding the brake to the frame and remove the brake. Remove the cable for the shifter now too.
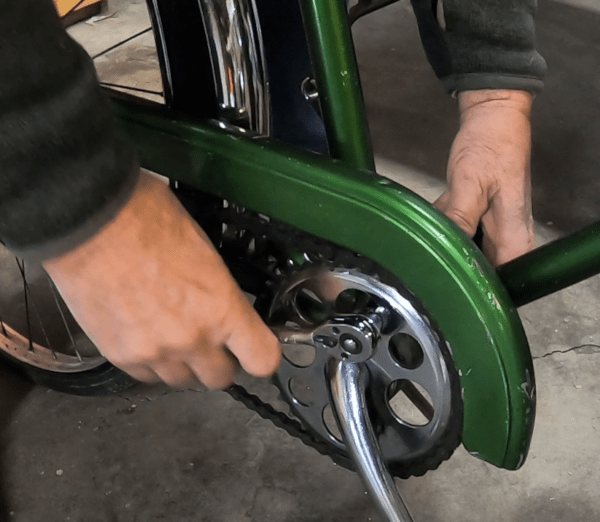
Remove the screws and nuts holding the chain guard to the bicycle frame and remove the chain guard. There are usually only two screws holding it to the frame, but some bikes have more. Sometimes the screws are hard to find.
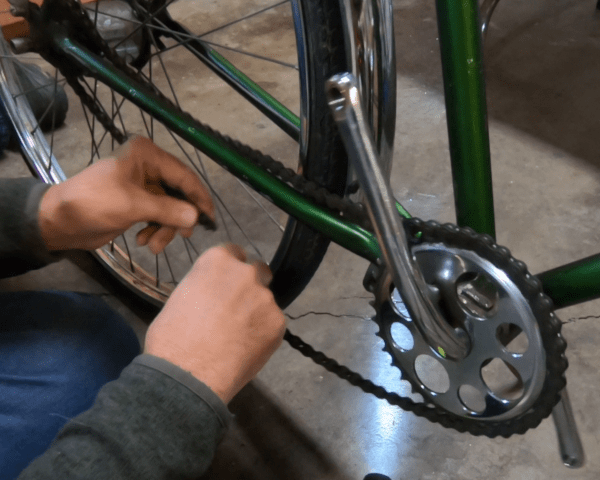
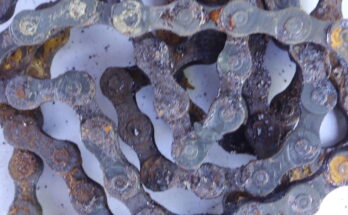
Unfasten the master link from the chain and set it aside. Remove the chain from the bike.
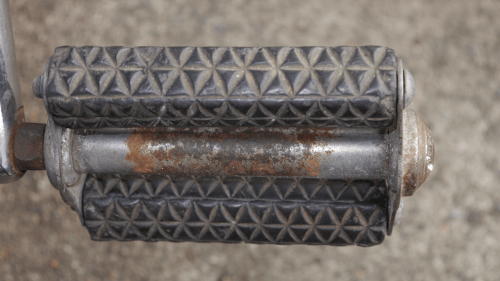
Pedals come off the cranks by unscrewing the spindle next to the crank arm. The pedal on the right turns counter clockwise to remove, but the pedal on the left comes off by turning it clockwise. You may have to use a long wrench to get it loose as they tend to be very tight, especially on bikes that are heavily ridden. You may need a pedal wrench to break them loose.
Steps for Removing Cranks
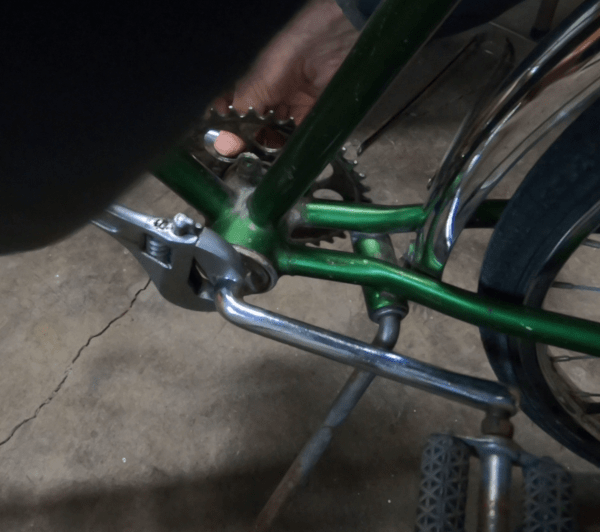
Unscrew the locknut with a large crescent wrench by turning it clockwise. Remove the keyed washer that was behind the locknut. Unscrew the bearing cone clockwise. Reach in and pull the bearings out of the bottom bracket. They are held together by a retainer, so they will all come out together.
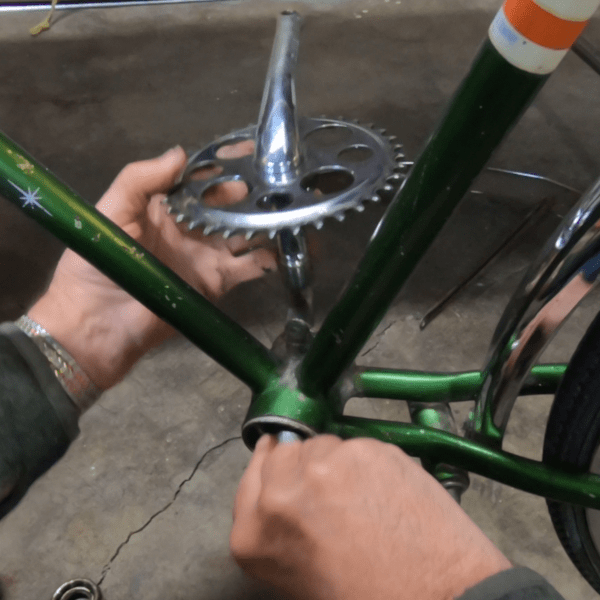
The crank comes out of the bottom bracket toward the right side of the bike, but it may take some maneuvering to get it out. After removing the cranks you can take the bearing out of the right side of the bottom bracket.
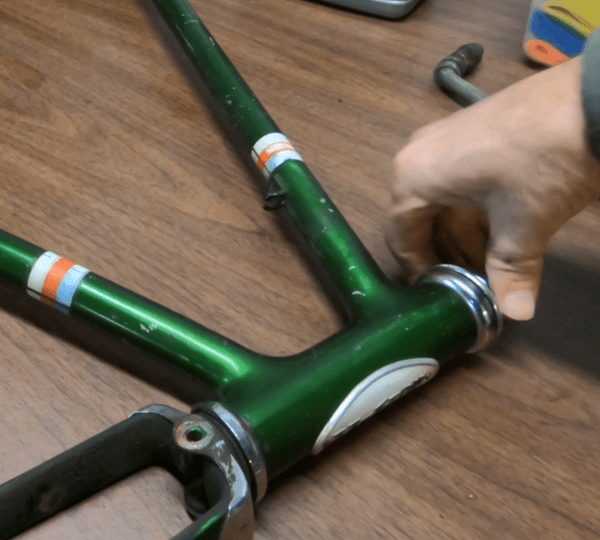
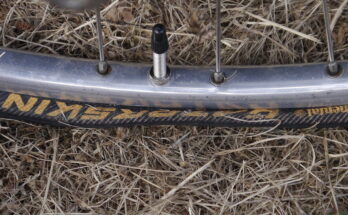
After removing the wheels and fenders, the front fork is all that is left. Unscrew the retaining nut with the big crescent wrench. Remove the retaining nut, retaining washer, and any other washers that may be present. Unscrew the top bearing cone, but be ready to control any loose bearings. Remove the fork from the frame. Remove any bearings that are still in their races in the frame.
Final Steps
Now that the bike is totally disassembled, take a break, but not for too long. Now the parts cleaning and rust removal begins. This is also a good time to make a list of parts you will need to reassemble the bike.
Amazon and the Amazon logo are trademarks of Amazon.com, Inc, or its affiliates.