As an Amazon Associate I earn from qualifying purchases.
The number one maintenance item for most cyclists is bicycle flat repair. If you’ve never had a flat tire it’s because you lead a charmed life or you don’t ride very often. For the rest of us it’s a normal annoyance.
I carry an extra bicycle tube with me when I ride to speed up the flat repair process. I also carry a patching kit with me in case I need to patch a tube while on my ride. You could install new tubes every time you get a puncture, however, fixing bicycle tubes is a simple process that can save you money.
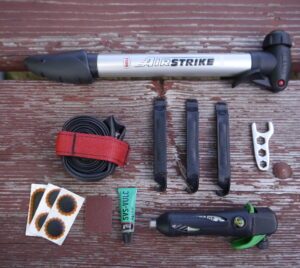
You’ll need the following items:
- Wrenches for removing wheel (if you don’t have quick release axles).
- Tire levers.
- Bicycle pump or CO2 inflator.
- Spare tube.
- Patching kit (optional).
Bicycle Flat Repair: Removing the Wheel
Following the steps listed below will get you back on the road with little fuss. Let’s get started!
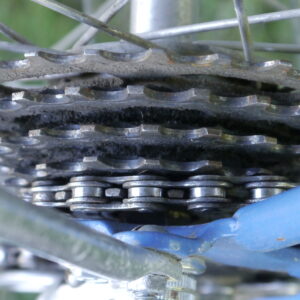
When repairing a flat the first step is to remove the wheel. When removing a back wheel on a bike with derailleurs, shift the rear derailleur to the smallest cog. If your bike is equipped with quick release levers, flip the release lever (approximately 180 degrees) and remove the wheel from the bike. Otherwise, loosen the axle nuts with wrenches and remove the wheel.
Removing the Tube
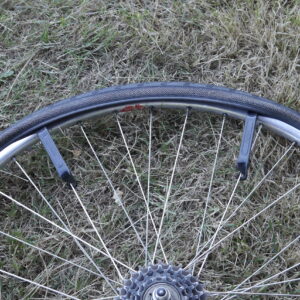
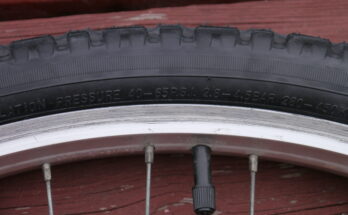
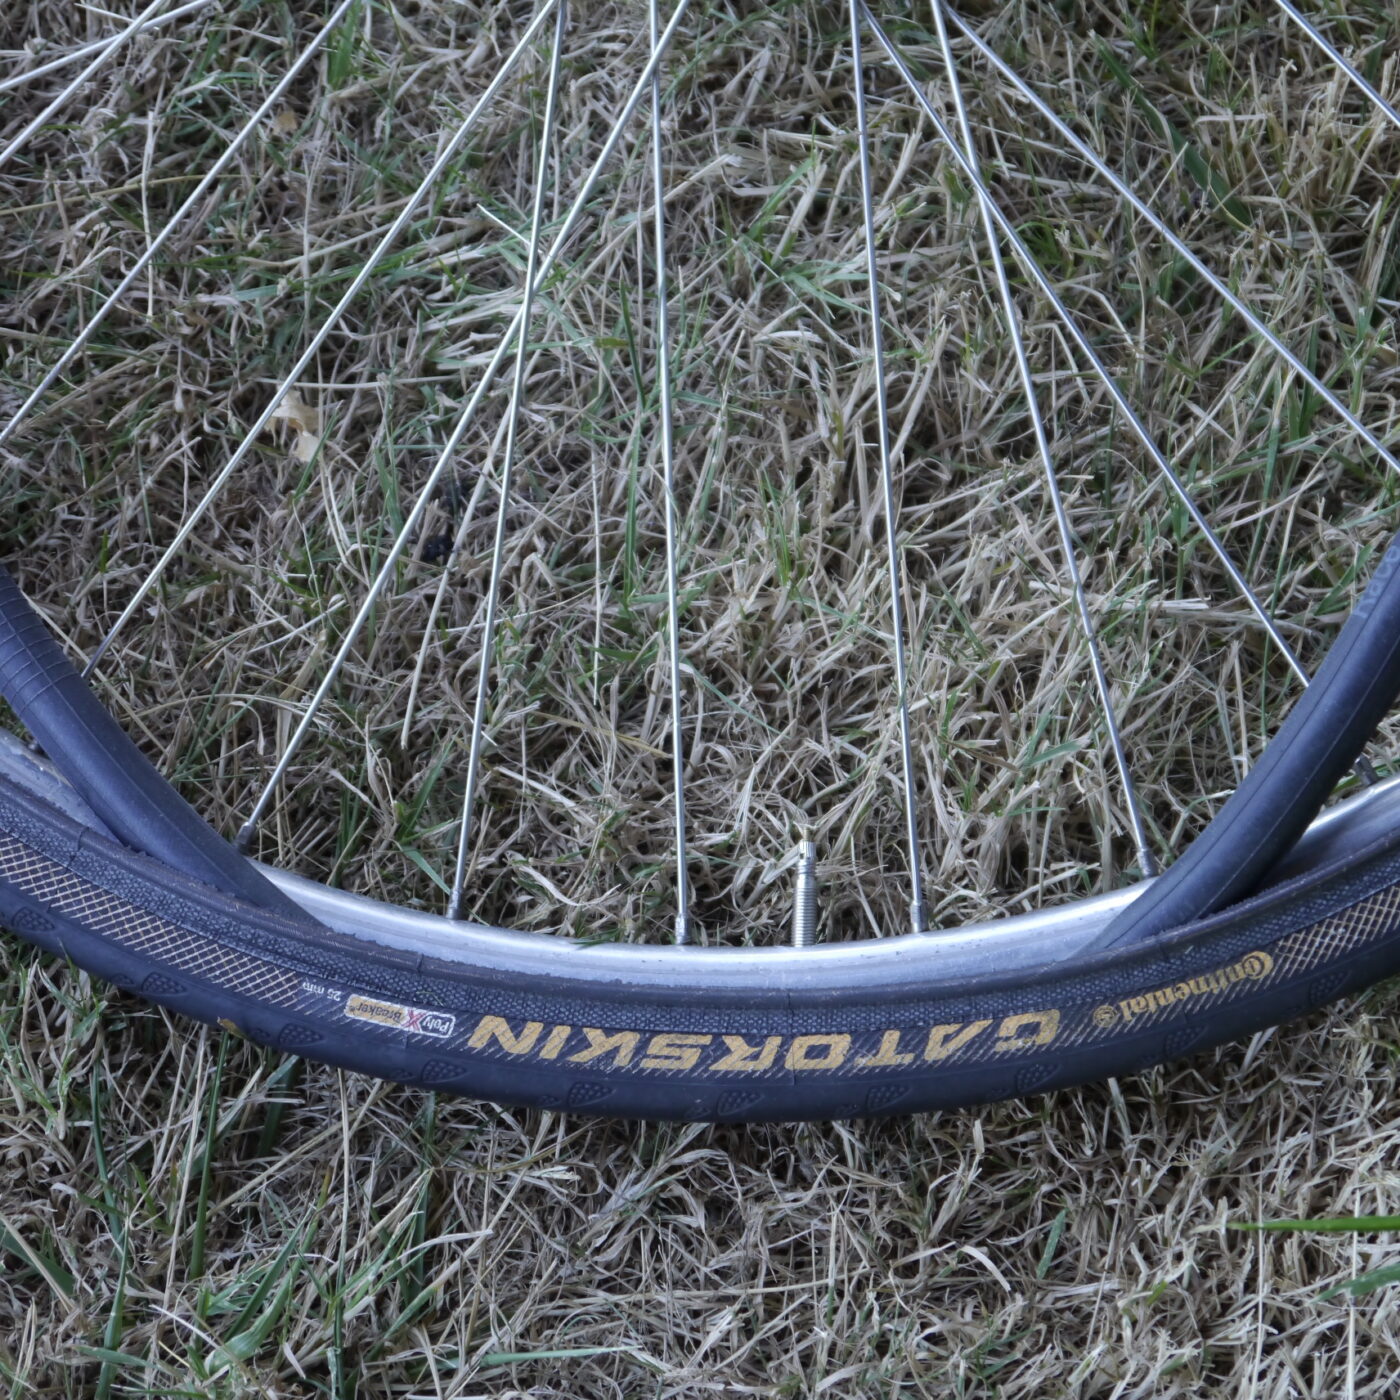
Remove the valve stem cap and nut if it has one. Make sure the tire is fully deflated. Using tire levers, start removing the tire bead on one side of the rim at the opposite end from the valve stem. Work your way down evenly on each side, finishing at the valve stem. You’ll probably need to use at least two tire levers, and possibly a third. With some tires, especially mountain bike and beach cruiser tires, you can sometimes remove the bead by hand without using tire levers.
Once the bead is removed on one side of the tire the tube can be removed. Again, starting from the end opposite from the valve stem, pull the tube out of the tire. Remove the valve stem from its hole in the rim last.
Keep the tube, rim and tire oriented the same way it was before you removed it. Keeping them oriented the same will help find where the puncture occurred.
Bicycle Flat Repair: Finding the Puncture
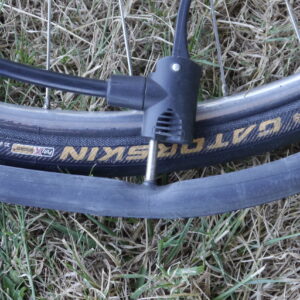
Inflate the tube until you can hear and feel where the leak is. Don’t worry too much about over inflating the tube. If you can hear and/or feel the air escaping it isn’t very likely that you could fill it until it bursts.
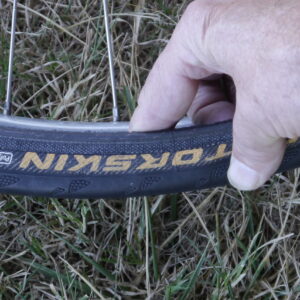
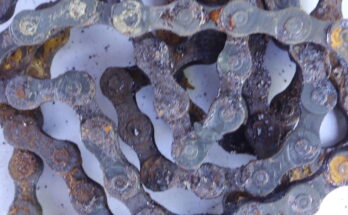
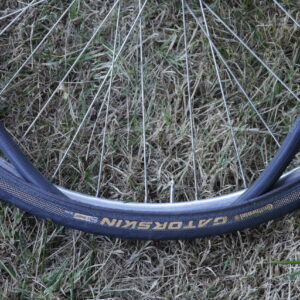
Once you find the leak in the tube, try to find the corresponding area in the tire. Check the outside of the tire for damage from thorns, glass, etc. Run your fingers inside the tire to make sure whatever punctured the tube isn’t still in the tire. If it’s still there remove it, being careful not to cut your fingers.
Installing a New Tube
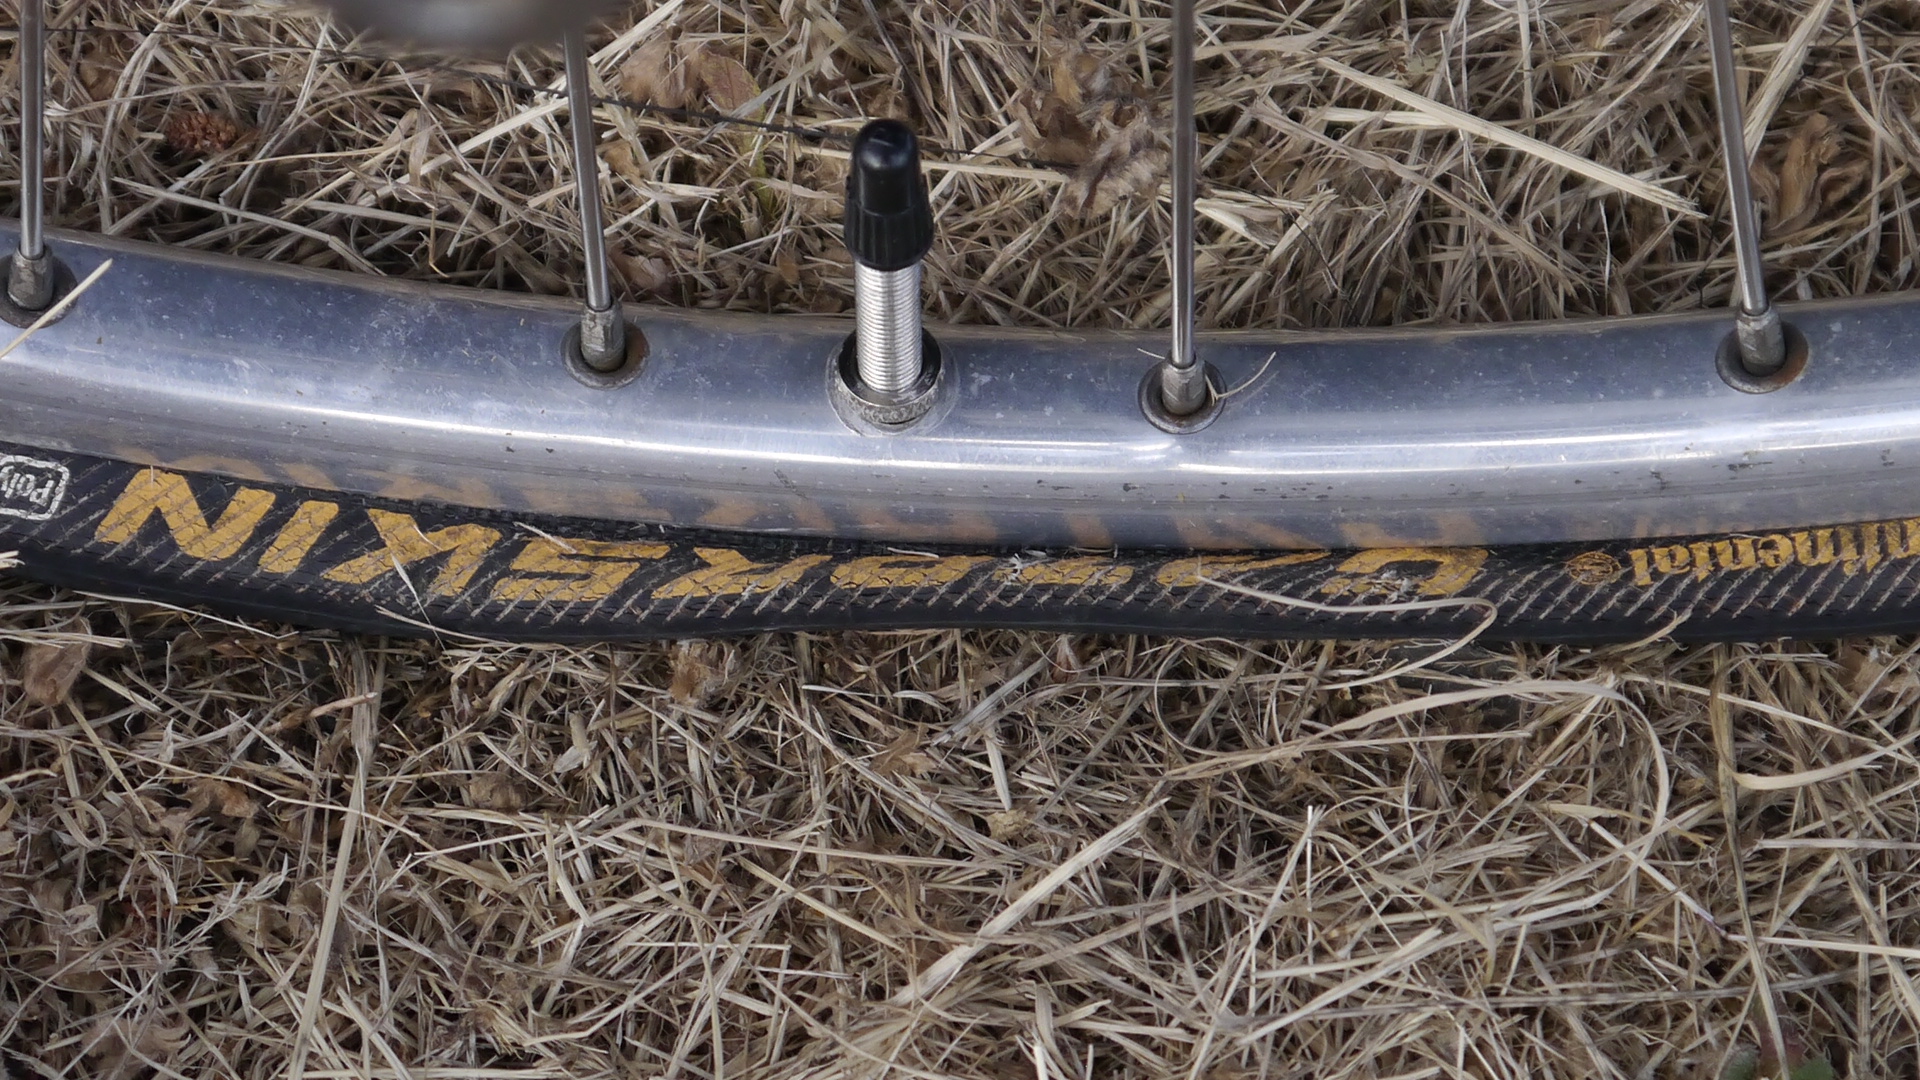
Make sure the rim strip is still straight on the rim and covering all of the spoke nipples and holes before re-installing the tube. Pump the tube up slightly with just enough air for it to hold its shape.
Insert the valve stem through its hole in the rim. Make sure the valve stem is straight and work the rest of the tube back into the tire.
Starting at the valve stem again, work the bead back onto the rim. Work it in evenly on both sides, finishing directly opposite from the valve stem. If necessary, use tire levers to get the tire back on the rim.
With caliper (rim) brakes you may have to inflate the tires after re-installing the wheel so you’ll have enough clearance to get the tires past the brake pads.
Pump the tire up just a little more and check all the way around the tire where the bead meets the rim to make sure the bead is seated evenly all the way around the rim on both sides. Adjust as necessary. Finish inflating the tire to its correct pressure. Re-install the valve nut if it has one and the valve cap.
Re-installing the Wheel on The Bicycle
If you’re re-installing a rear wheel, put the chain on the smallest rear cog and work the wheel axle back into the rear frame dropouts. Center the rear wheel between the chain stays and tighten the quick release lever or tighten the axle nuts.
If you’re re-installing a front wheel, put the wheel axle back into the fork dropouts. Tighten the quick release lever or tighten the axle nuts. Make sure the wheel is centered between the brake calipers.
Bicycle Flat Repair: Patching Tubes
While it’s possible to patch tubes while on the road, I find it much easier to patch them at home. I would rather replace the punctured tube with a new one when out on the road. That said, patching tubes on the road could become a necessity.
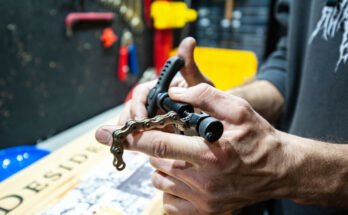
There are two kinds of patches for bicycle tubes. The simplest patching kit to use have an adhesive backing on the patch. To use, rough up the area of the puncture with the sandpaper supplied with the patches. Remove the backing on the patch and stick the patch to the tube using firm pressure.
The other type of patching kit uses cement. Otherwise it applies the same way. Rough up the area of the puncture with the sandpaper supplied in the kit. Apply the cement to the area. When the cement is dry (about a minute or two) peel the backing off the patch and stick the patch to the tube using firm pressure.
Related Articles
- Old Bicycle Tires are Dangerous – Rider Beware
- Mountain Bike Tires for Road Riding
- Changing Bicycle Tires
Amazon and the Amazon logo are trademarks of Amazon.com, Inc, or its affiliates.