As an Amazon Associate I earn from qualifying purchases.
A bicycle chain tool makes removing or shortening a chain easy. Find out how and when to use it to remove your chain without damage with these chain tool instructions.
The bicycle chain tool has long been a staple for performing chain maintenance. It’s invaluable for shortening any bicycle chain when the need arises.
On some bikes you can press a link pin to remove the chain from the bike and press it back in with the chain link tool. These bikes have chains with thicker side plates, such as:
- Single speed bikes.
- Bikes with internal hub gears, like 3 speed bikes.
- Derailleur gear bikes with 5, 6, 7, and 8 speed rear gear clusters.
The instructions below describe how to break a chain by pressing out a link pin. Though you can break a chain and put it back together using this method, it’s better to install a missing link. The missing link makes the chain easier to remove and replace. Instructions for using missing links can be found here.
Breaking the Chain with a Bicycle Chain Tool
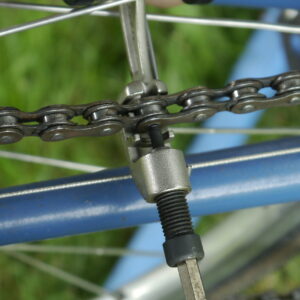
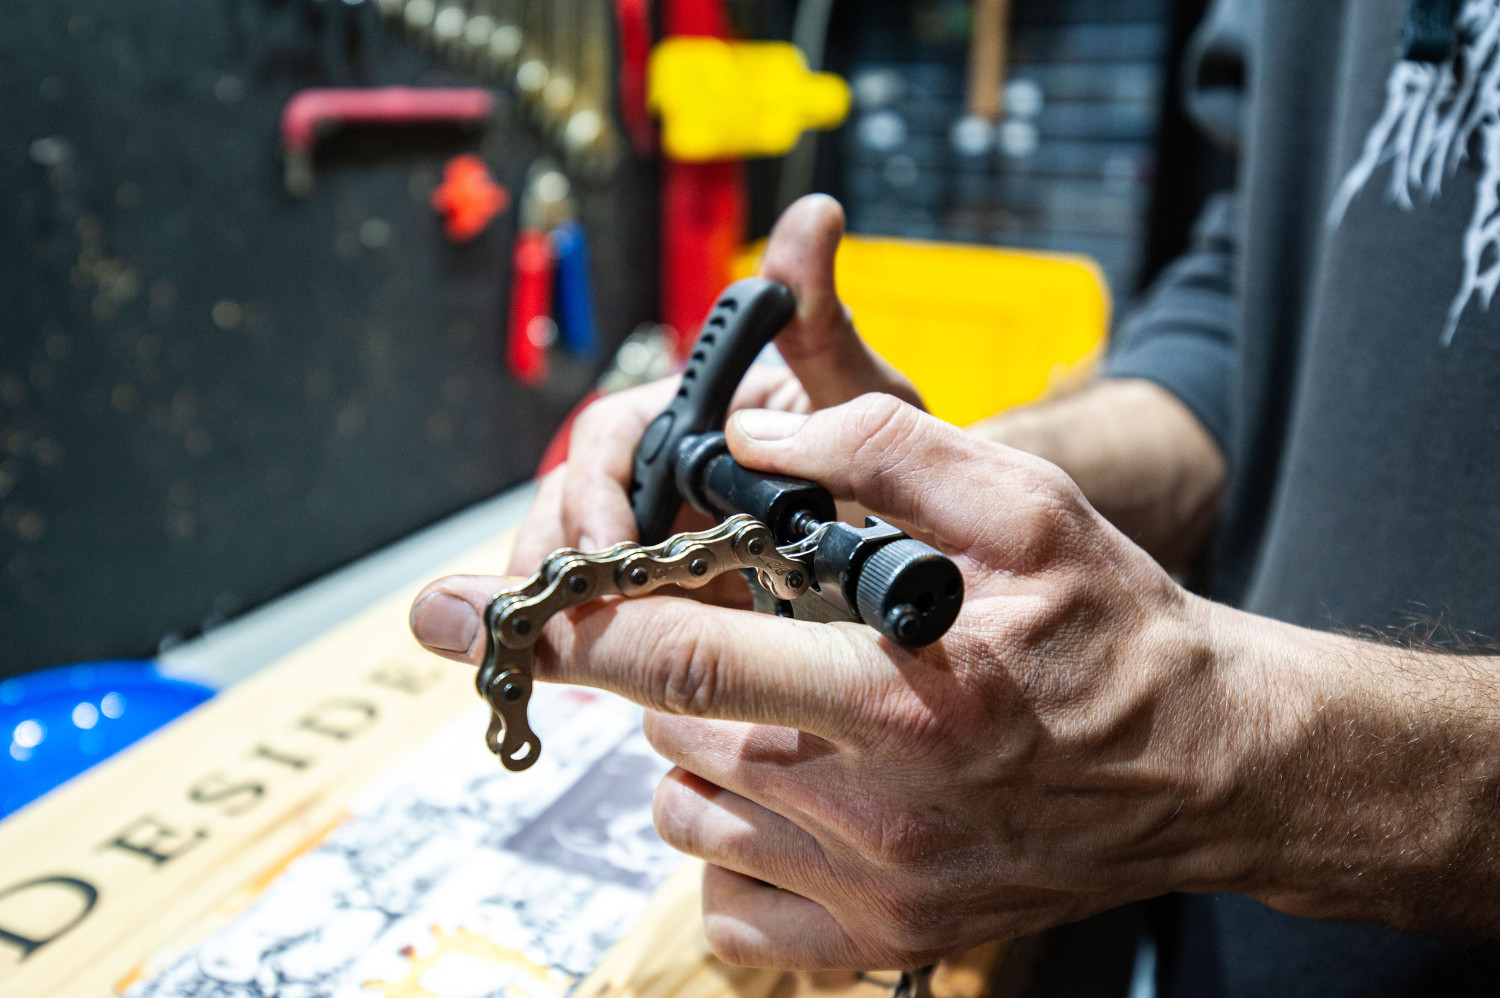
Put one link of the chain in the tool as shown and tighten the chain tool against the pin.
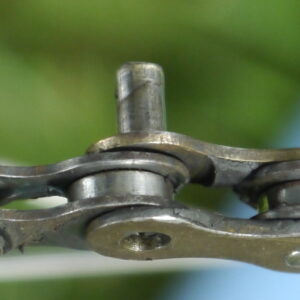
Drive the pin out, but not all the way. Leave it in the opposite side plate. If you drive it all the way out you’ll have a hard time getting it back in.

When re-assembling the chain, drive the pin from the opposite side.
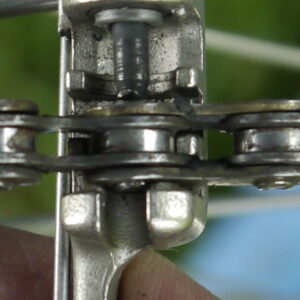
Drive the pin in until it protrudes about the same amount on both sides of the chain.
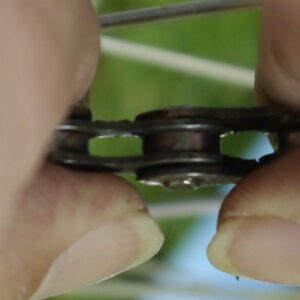
After the chain is re-assembled, the link may be stiff. To free it up, grab the chain on each side of the stiff link and bend the chain from side to side.
Bikes with 9, 10, 11 and 12 Gear Clusters
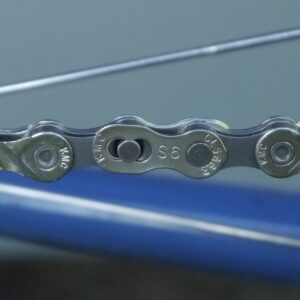
Bikes with 9, 10, 11 and 12 gear clusters use chains with thinner side plates. Because of the thinner side plates, pressing the pin back in isn’t advisable. Instead, use a master link, also referred to as a missing link. Missing links can be installed without tools and removed using master link pliers.
How to use Missing Links
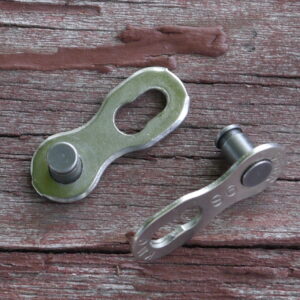
Missing links are easy to install and remove. They are sized according to the number of cogs on your bike’s gear cluster. Pictured is a missing link for a 9 speed cluster.
If you’ll be putting a missing link on a chain that doesn’t have one, push the pins out of two adjacent links with the chain tool to remove the side plates.
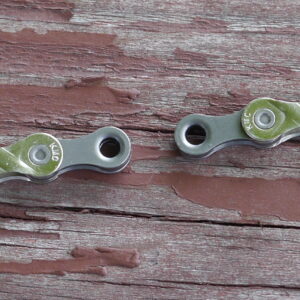
Install the missing link on the chain between the rear cog and front derailleur. To tighten, turn the pedals clockwise while holding the rear tire. The link should snap into place
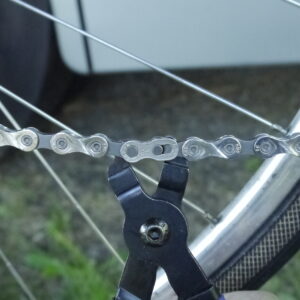
To unlock the missing link for removal, use master link pliers to squeeze the links of the chain together. Remove each side of the missing link from the chain and set aside for re-assembly.
Armed with the information in this article you should be comfortable with removing, shortening and installing your chain with a bicycle chain tool. You’ll also be able to install missing links to your chain to make it easier to remove from the bike for future maintenance and repairs.
Amazon and the Amazon logo are trademarks of Amazon.com, Inc, or its affiliates.